Ray Tracer
Overview
Overview
This ray tracer is the cumulation of a terms worth of work in COSC 87. A ray tracer simulates the path of light in a scene to create a photorealistic image. Most scenes shown here were pre-arranged, but, for several, I tried my hand at creating my own scene in Blender. It was done entirely independently, with the exception of the final project which was done with a partner.
Class
COSC 87: Rendering Algorithms
Timeline
September - November 2021 (10 weeks)
Tools
C++, Blender
Features
A very basic ray tracer
The first step in this project was creating a basic renderer. I did this by using a backward ray tracing technique. Since only a very small percentage of light in a scene will actually hit an eye, it is more efficient to start tracing photons of light from the eye and 'reverse calculate' what the color of that light would be. We can do this many times and take an average of the color to make the image look better.
We can determine the color of an individual photon by implementing algorithms that determine the direction that light scatters and the color attenuation of that light based on the shape, material, and color of an object.
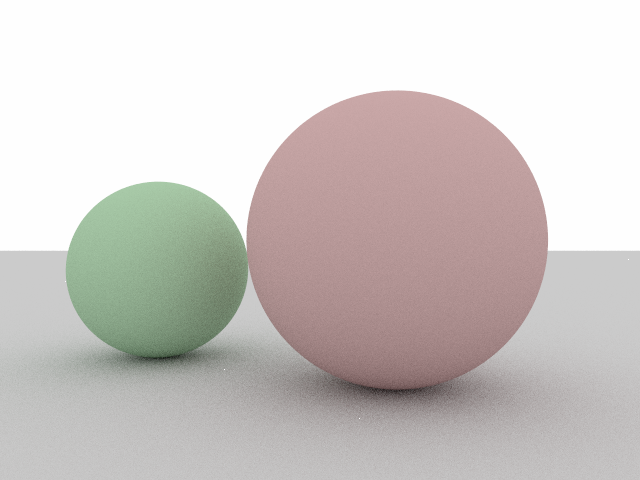
I first implemented a collision algorithm for spheres and an attenuation algorithm for lambertian (matte) materials.
A simple render of two lambertian spheres
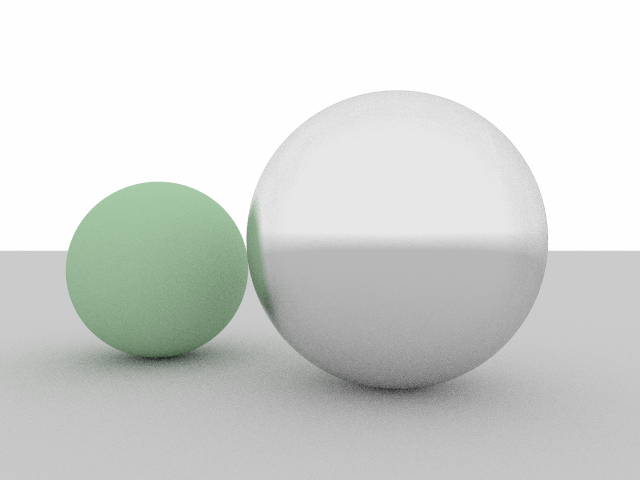
I then implemented a metal material that acts similarly to a mirror.
A simple render of a metal sphere and a lambertian sphere
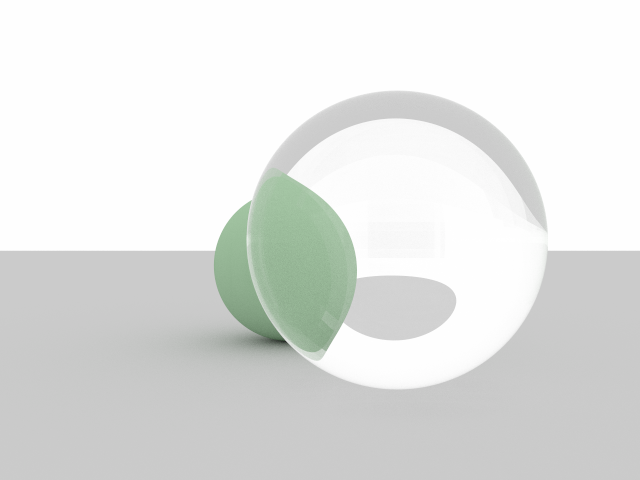
Lastly, I implemented a dielectric (glass-like) material, which reflects and refracts light depending on the angle of incidence and other factors.
A simple render of a dielectric sphere and a lambertian sphere
Now that we've implemented some basic material types we can make some more complicated scenes.
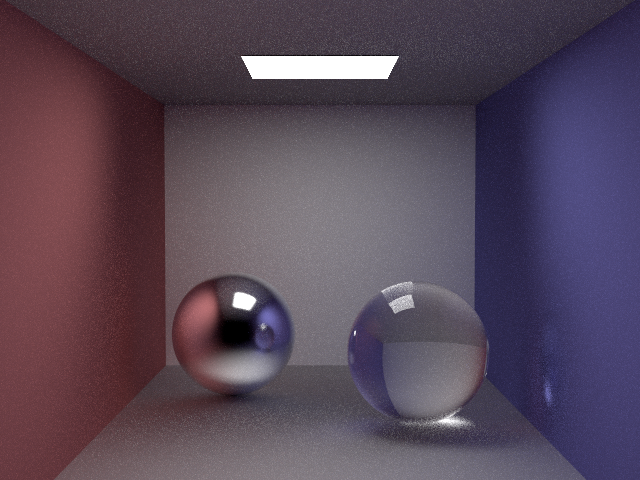
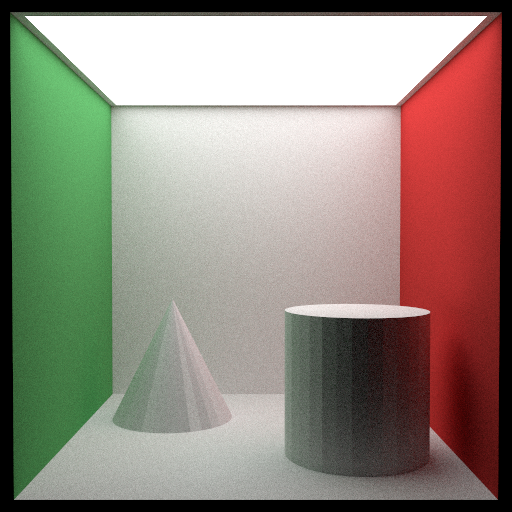
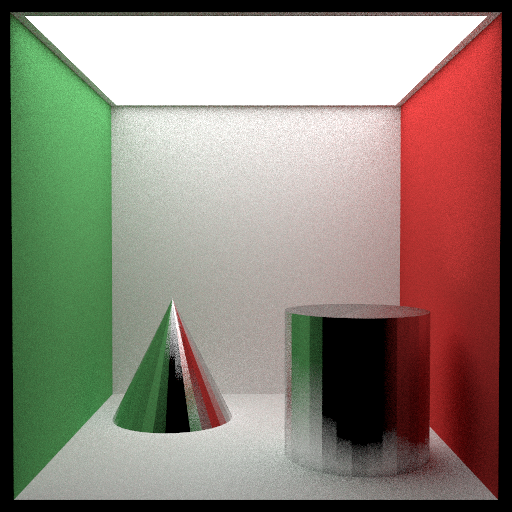
A 'Jensen Box'
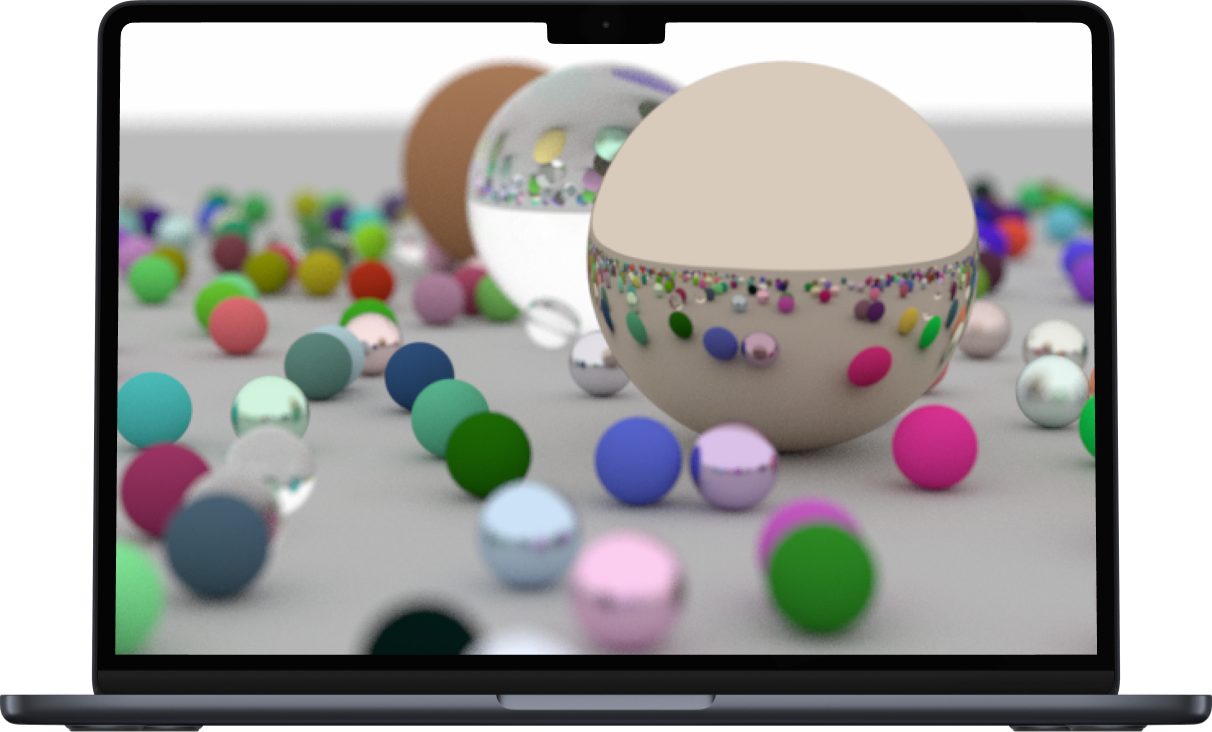
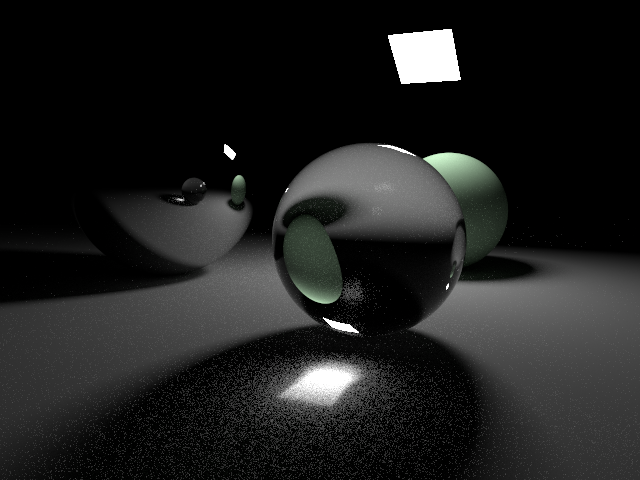
A series of marbles with a small light source
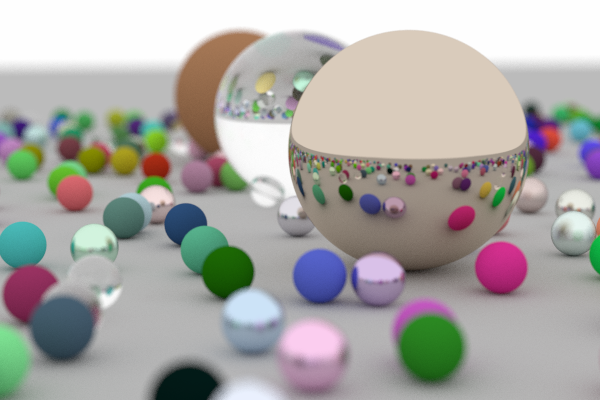
Many marbles in an open area, focused on the middle
Making the ray tracer faster using bounding volume hierarchies
Scenes take increasingly longer to render the more objects you put in them since you have to check for more and more collisions. Since I wanted to be able to render mesh objects (composed of thousands of triangles), I have to make the algorithm more efficient.
A simple example of how meshes can be used to create shapes we haven't implemented
I do this by creating 'bounding volume heirarchies'. The idea behind this is that if a light ray is on the right side of the scene, there is no point in checking for any collisions on the left side of the scene. This simple observation makes it so that doubling the number of objects in a scene only increases the render time by a small percentage (<10%).
After implementing a collision algorithm for triangles and making our collision checker more efficient, we can render more complicated and interesting scenes.
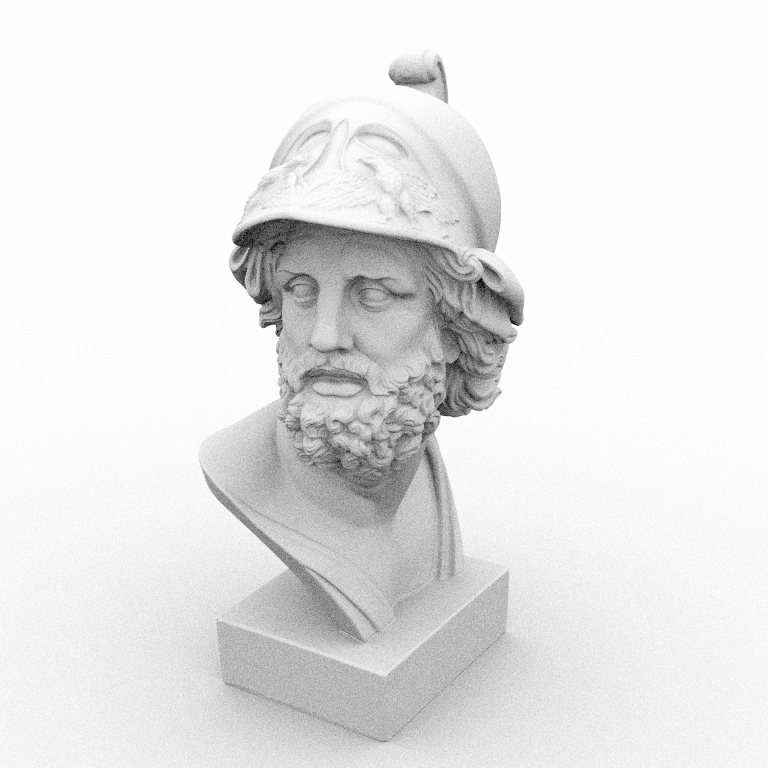
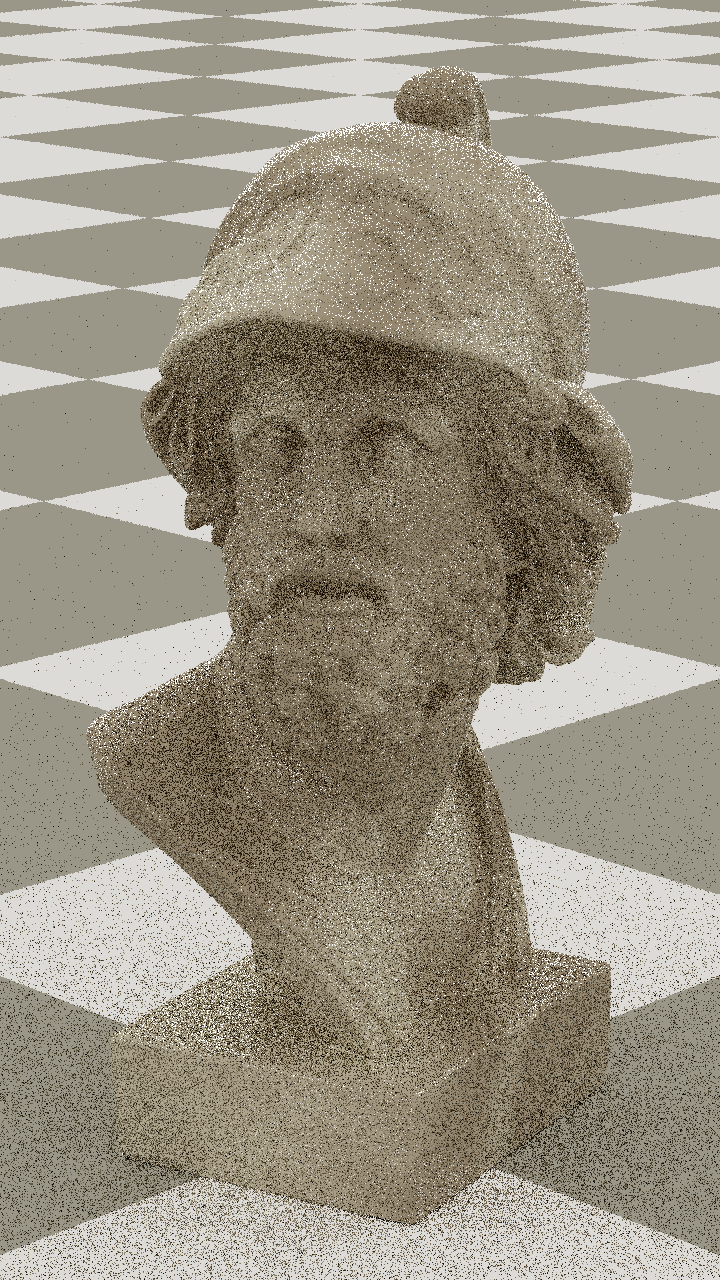
A sculpture of Ajax using a mesh
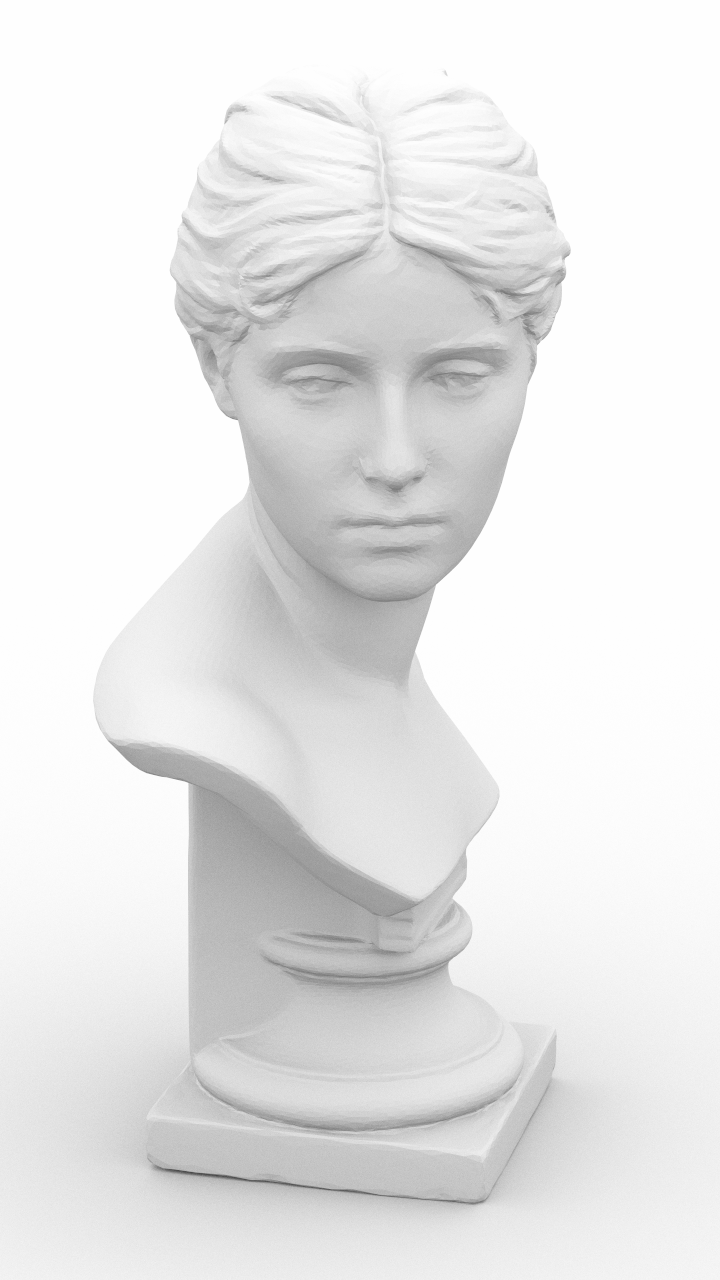
A sculpture of Loewenfeld using a mesh
A sculpture of Loewenfeld in a box

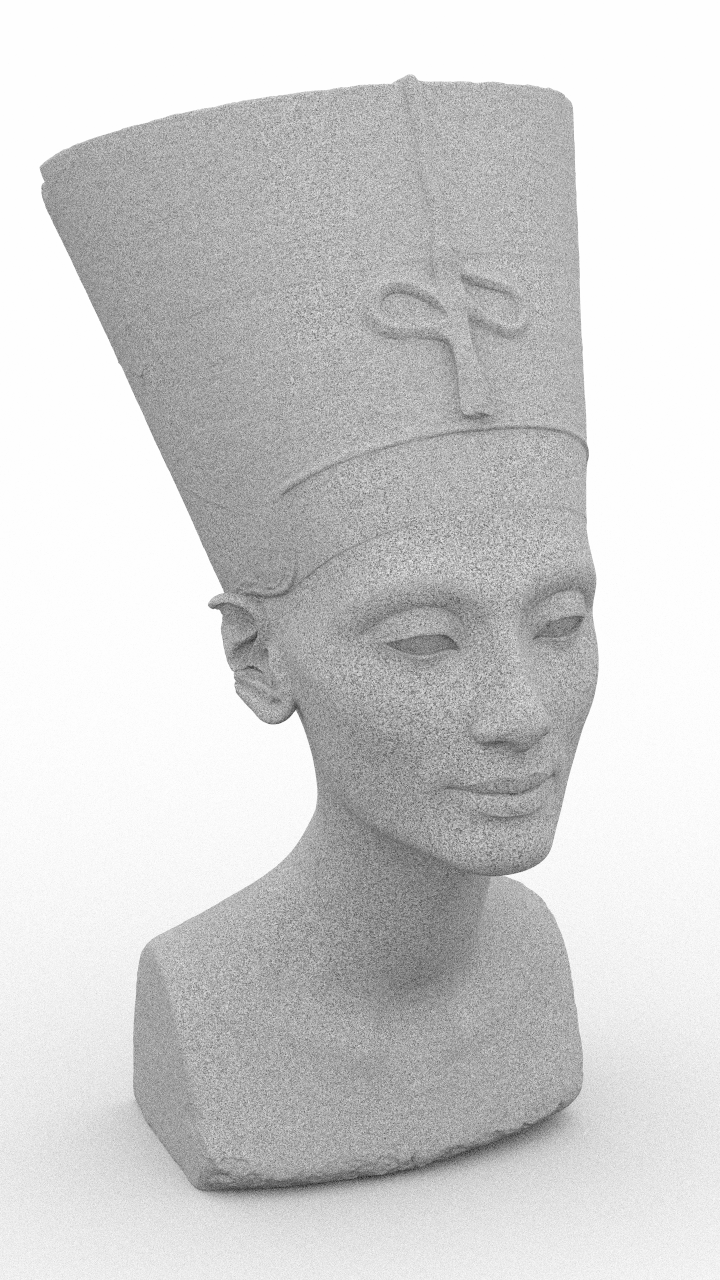
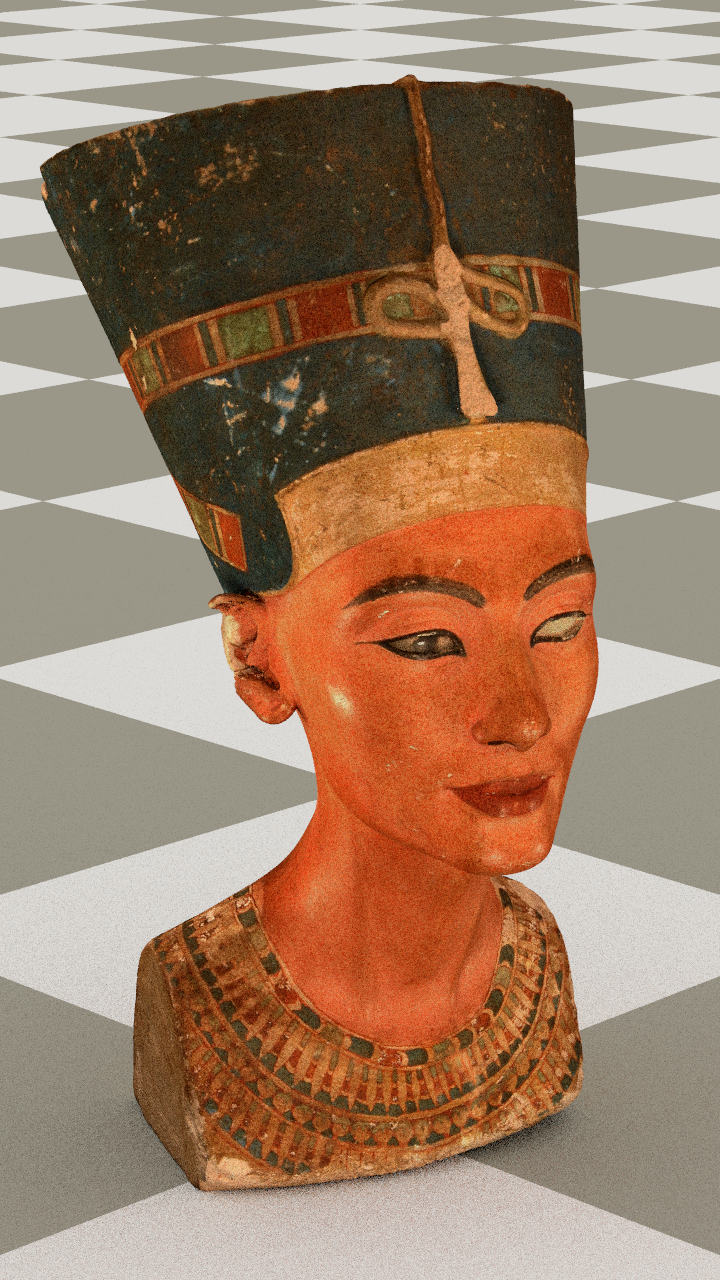
A sculpture of Nefertiti using a mesh
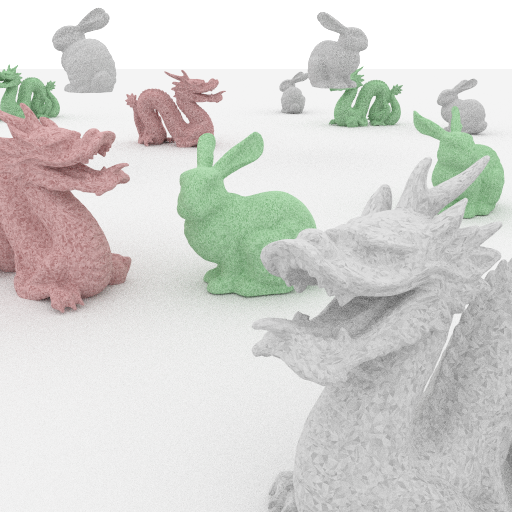
A scene consisting of bunnies and dragons
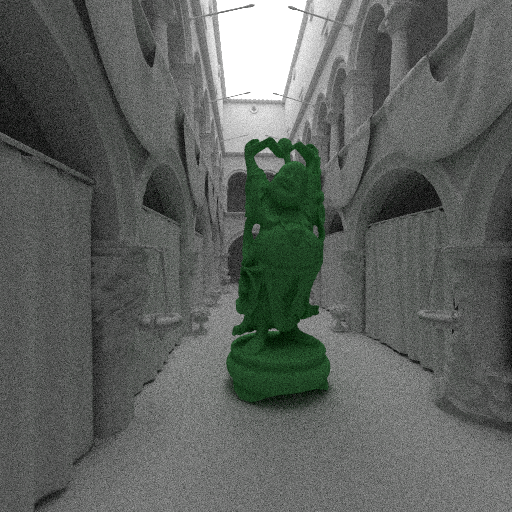
A scene consisting of statue of Buddha in a museum
Implementing different textures, such as marble, checkerboard, custom, and fresnel blend
The next step in the project was to implement different textures. The way that a texture appears on an object depends on the shape of the object. Thus, we implement texture mapping for every shape which tells the renderer how a texture maps to a location on that shape.
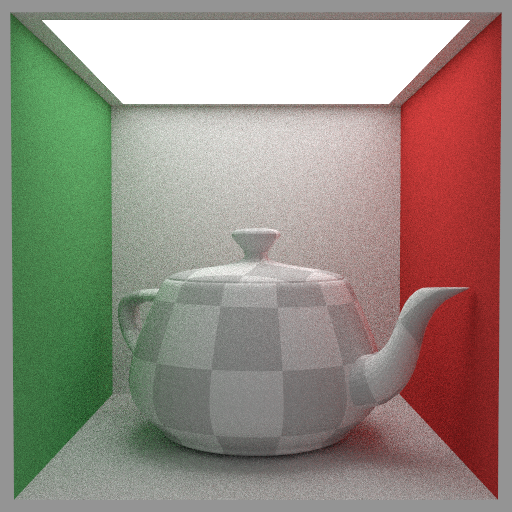
I first implemented a checker pattern.
A checkered teapot in a box
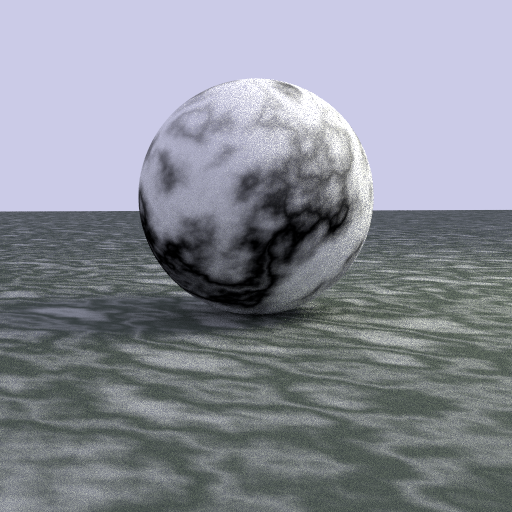
And then a marble texture.
A marble on a marbled floor
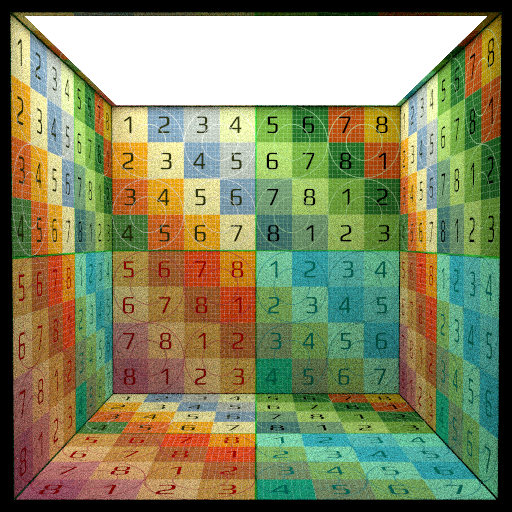
Lastly, I implemented image texturing. This lets a user specify an image to map to an object.
A textured box, where the texture wraps after it ends
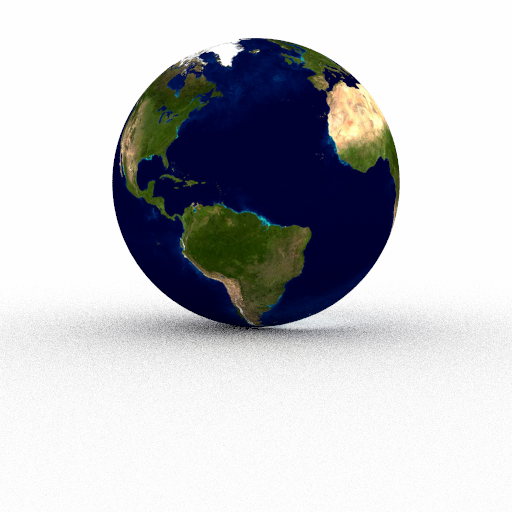
A textured sphere of the earth (a globe)
A sculpture of Ajax, but now textured
A sculpture of Loewenfeld, but now textured

A sculpture of Nefertiti, but now textured
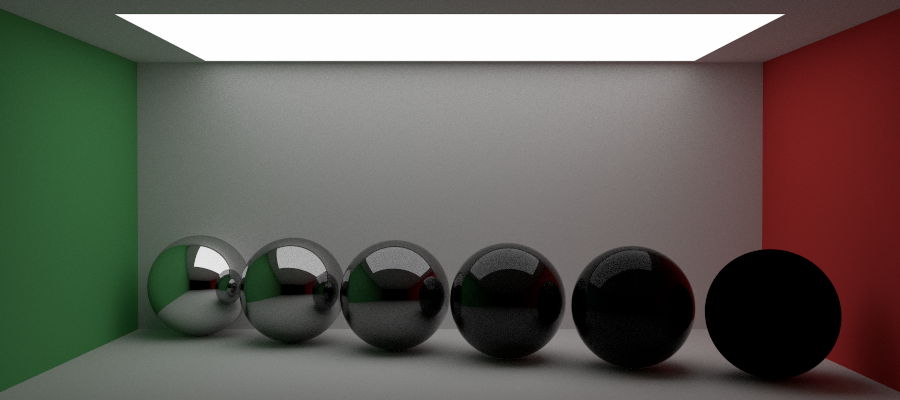
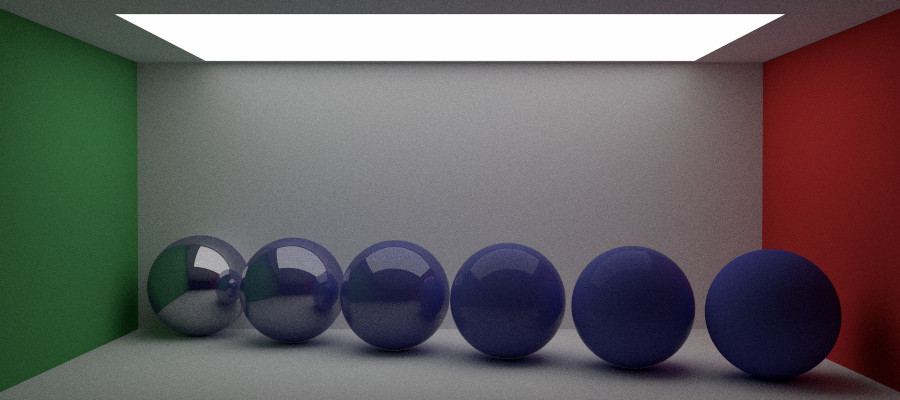
I also implemented a new material called a Fresnel blend that is a mix of a lambertian and dielectric material.
A series of marbles with a black Fresnel blend
A series of marbles with a blue Fresnel blend
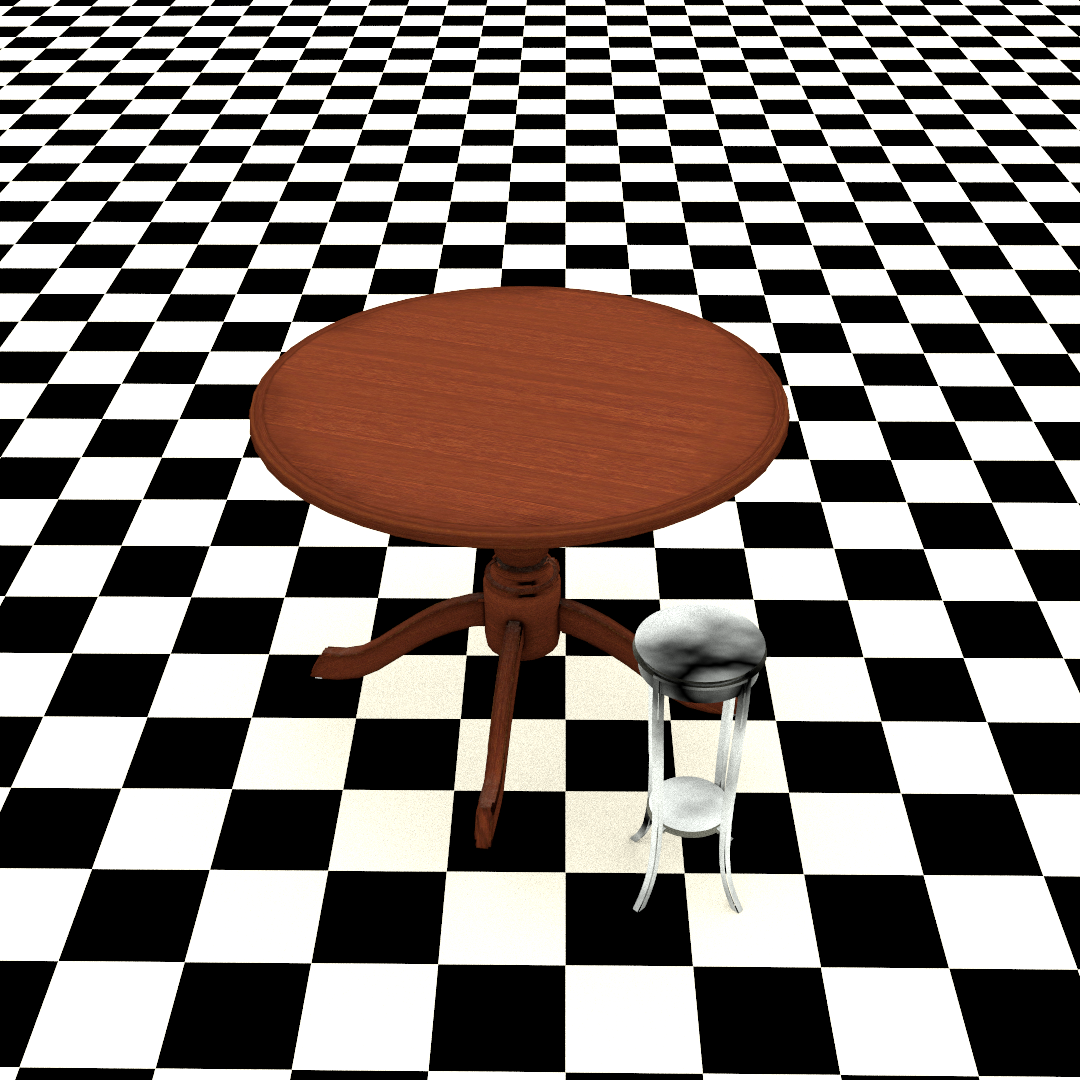
Finally, I tried my own hand at creating an original scene in Blender using meshes and textures.
My own scene: 'Table for One'
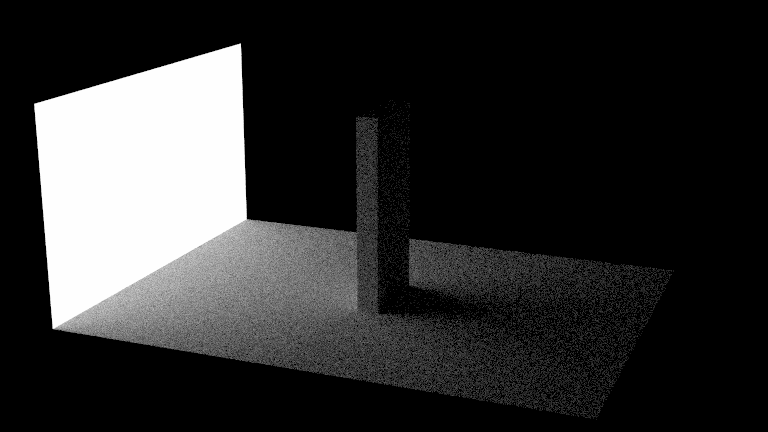
Using Monte Carlo integration to directly sample materials
I then implemented material sampling. Material sampling computes the attenuation and color of light reflected off of an object by computing the likelihood of a ray scattering in the direction that it does and attenuating the ray based on that probability. This is effectively using Monte Carlo simulations more explicity to build a more powerful renderer. This involves rewriting and adding to our materials to allow this to happen.
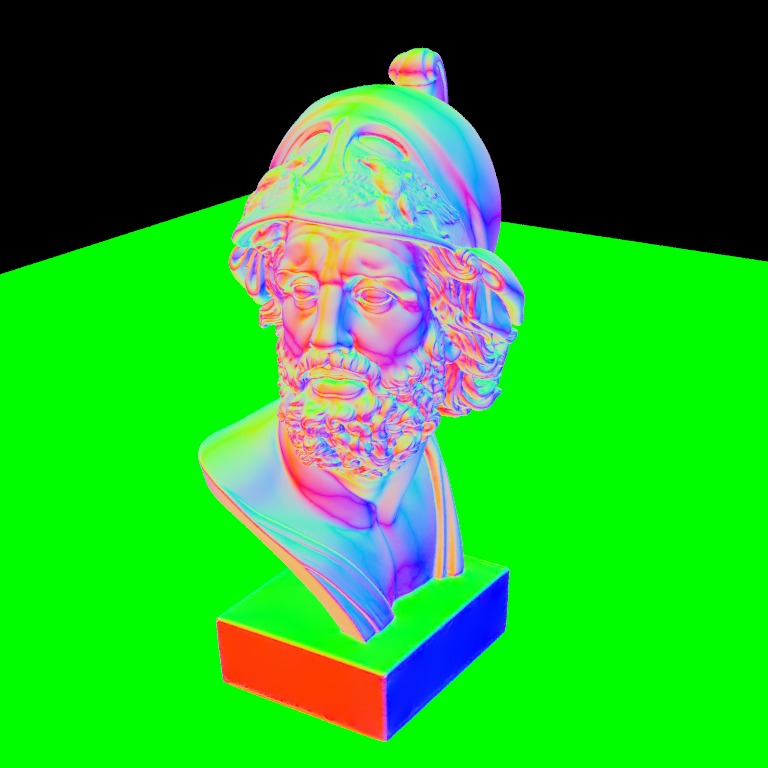
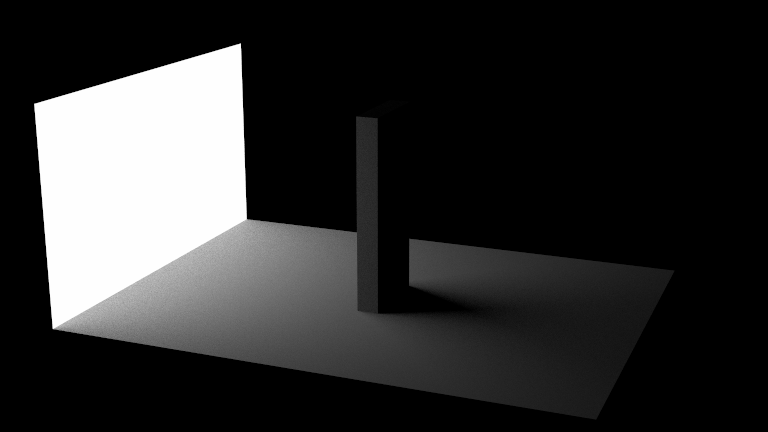
In order to use this material sampling we have to create an integrator. An integrator essentially tells the renderer how to render a scene and compute the colors of pixels. For example, one integrator I built computes the color of an object based only on the direction it hits it.
An example of an integrator based on the normals
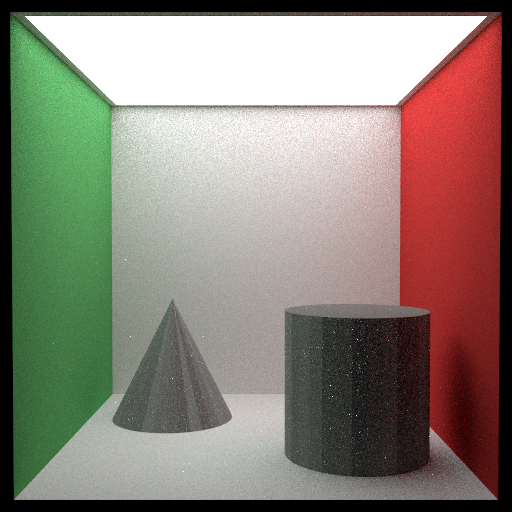
I then built out the integrator to use for the material sampling.
A scene created using material sampling
Another scene created using material sampling
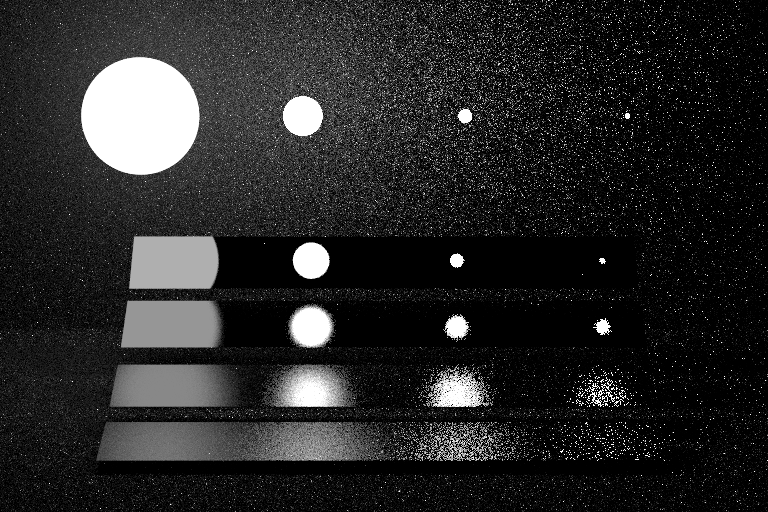
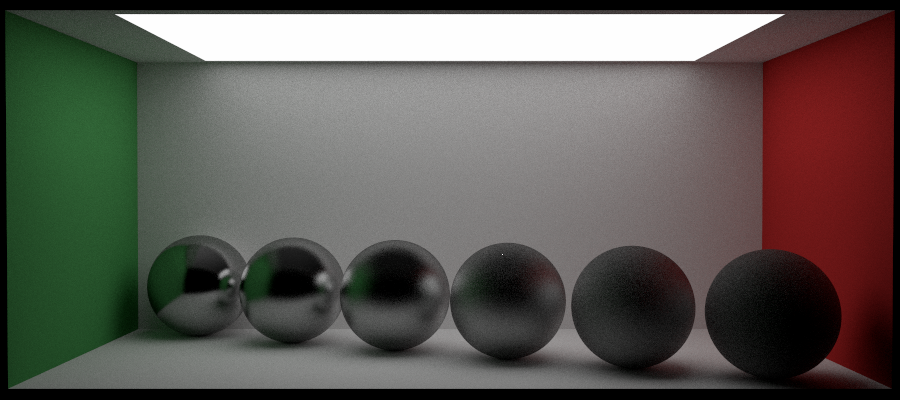
I also implemented a Phong (glossy) material.
A scene containing phong spheres using material sampling

Using Monte Carlo integration to directly sample lights
My next step was to also implement sampling lights using the same approach as discussed above. I also implemented a new integrator for this, called a next event estimator.
A significantly less noisy image produced using next event estimation
A significantly less noisy Jensen Box produced using next event estimation
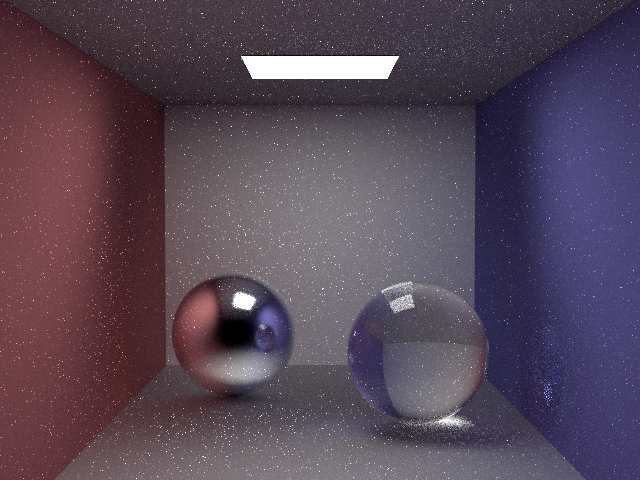
Next, I built an integrator called multiple importance sampling that combines next event estimation with material sampling to produce less noisy images.
A very clean image produced using multiple importance sampling
A very clean image produced using multiple importance sampling
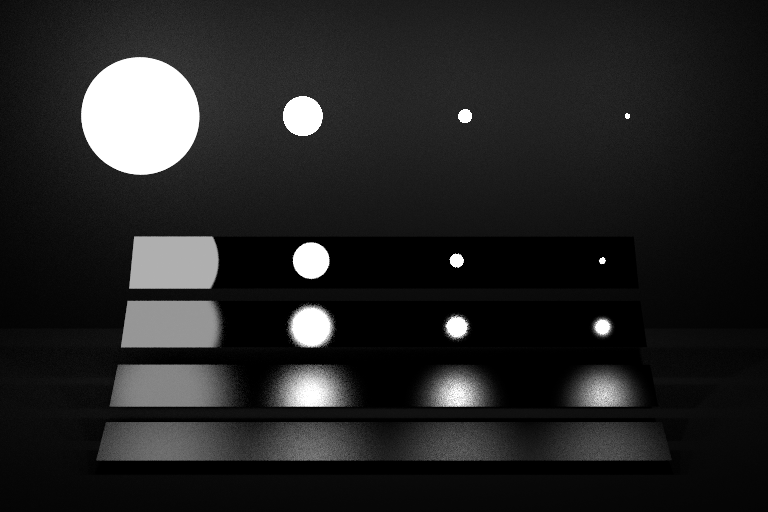
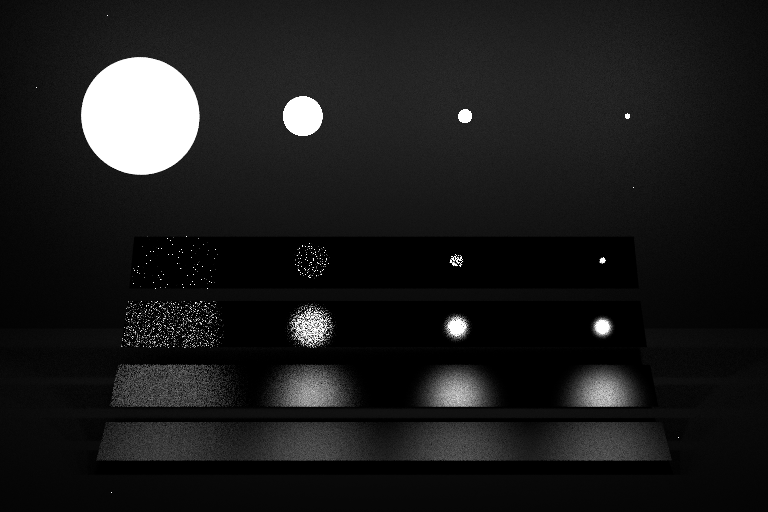
Lastly, I implemented one more material called Blinn Phong, which is a more complicated, rougher looking varient of the phong material.
A series of blinn phong spheres
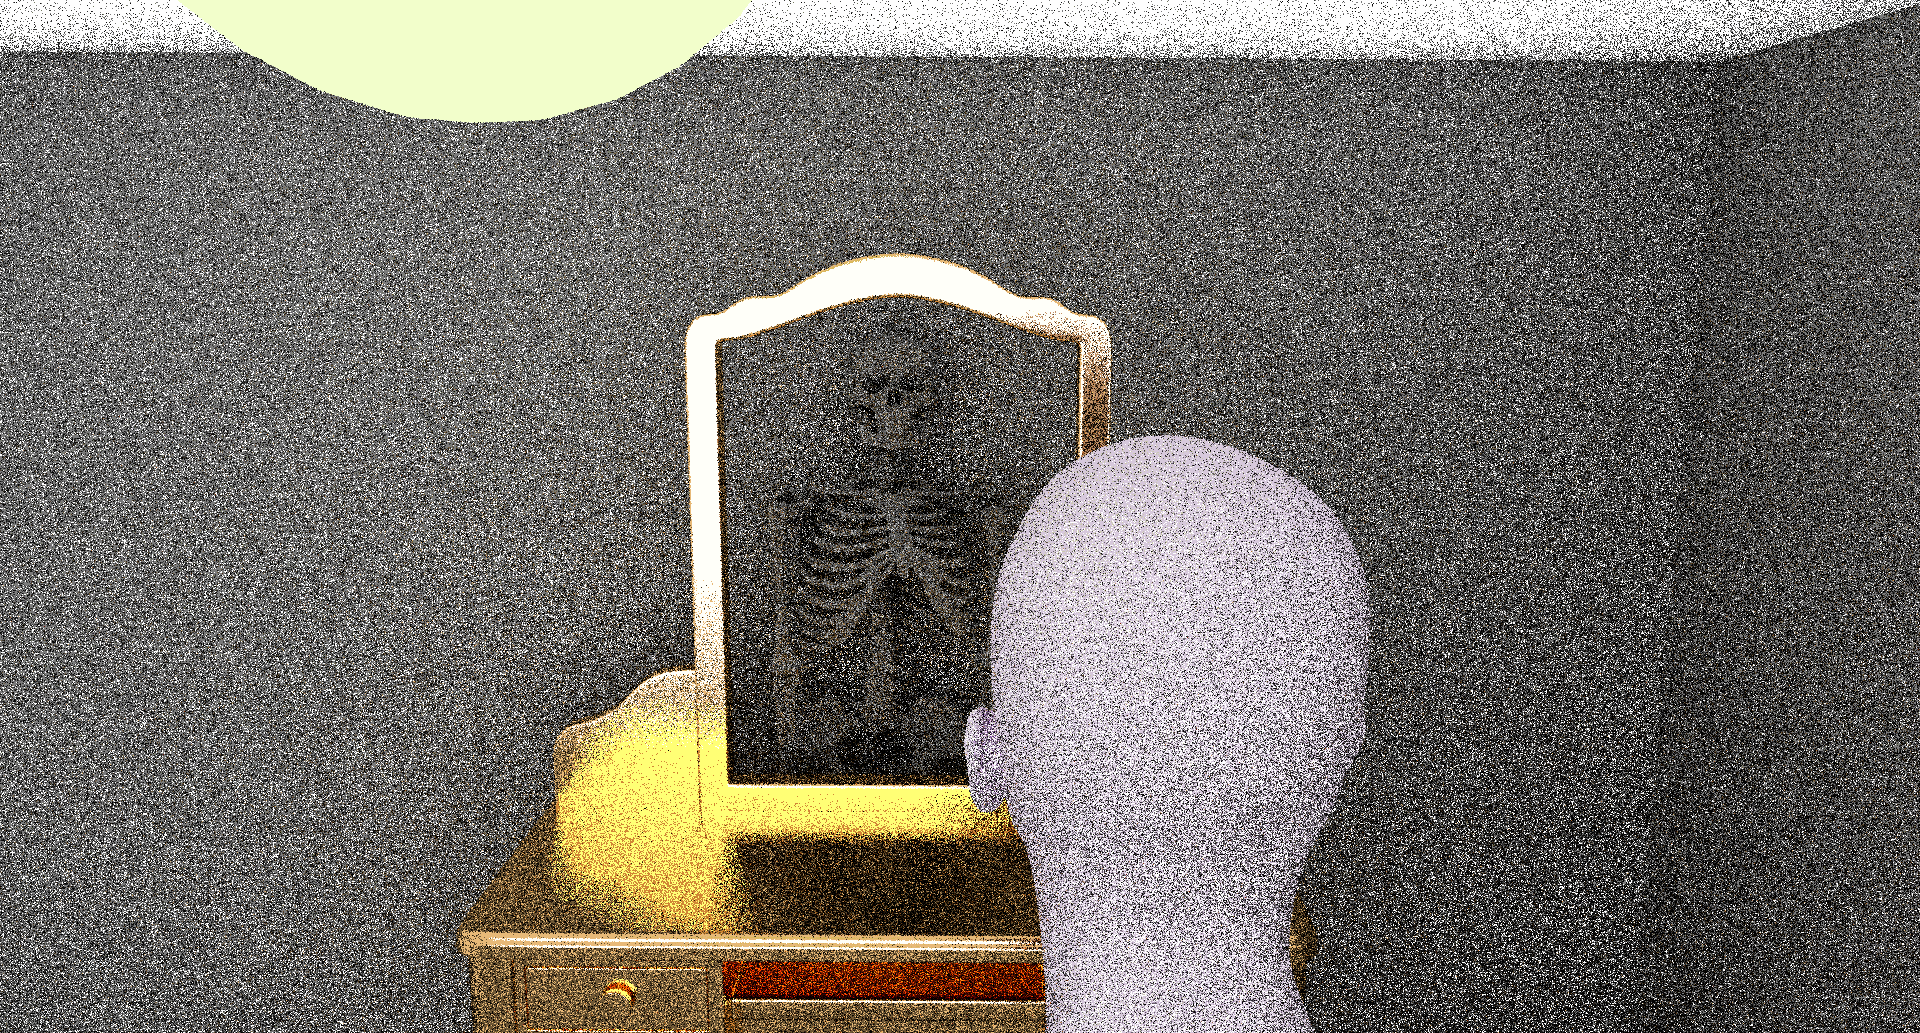
Adding additional functionality and creating our own scene (partner project)
The theme for the final project was 'it's what's on the inside that counts'. My partner and I decided to create a scene of a person looking into a mirror and seeing their own skeleton. We also implemented some new features, including a disk feature with texture mapping.
A disk shape with a clock texture mapped to it

We also created microfacet textures, which are textures that occur when light gets trapped in the surface of a rough material.
Microfacet material with a low roughness coefficient

Microfacet material with a high roughness coefficient
We also implemented a shinier metal material
Shiny chromatic material
We put these all together to create our final render. We created the scene ourselves using Blender.
The final render